TFA SB Solid Core UPOCC Bi-wire Speaker Cables
This recipe will be using Neotech UPOCC solid core copper wire in a 16 gauge. You have a few different options with this wire, it can be had with a PVC or Teflon insulation and is available with or without the cryo treatment. In this particular recipe we went with the Neotech UPOCC copper, PVC/Cryo Treated. The differences in sound between the various versions are subtle but important to some listeners, and in the end come down to personal preference. We will let the builders decide which is "best" for them. The solid core wires are stiff, if you are looking for a pliable wire this recipe may be too stiff for your application.
We are constructing a bi-wire cable set in this recipe, if you do not require biwire cables you may simply adjust the recipe by duplicating the termination instructions for the LS4's on both ends.
Now let's get started!
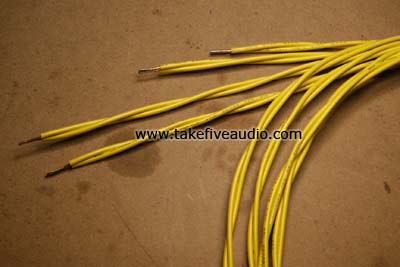
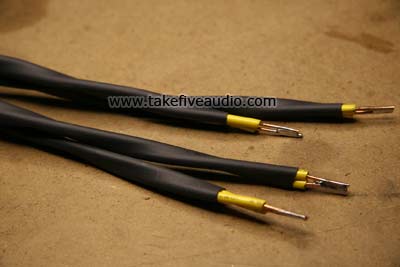
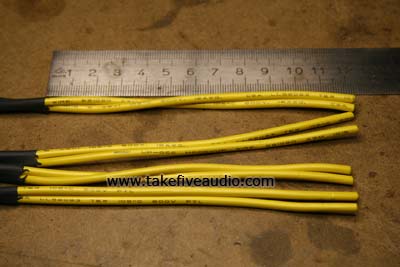
The first step is to cut the wire to the length required for your project. Our cables were 5 feet, the individual conductors were cut to 5 feet, 3 inches. This will give enough extra length to allow for the twist and end trimming. When you have all the conductors cut (8 for bi-wire, 4 for single wire) arrange them so the text on the jacket is flowing in the same direction and strip 1 inch of insulation from one end of all the conductors. The stripped ends will be soldered together to aid construction.
We are constructing a bi-wire cable set in this recipe, if you do not require biwire cables you may simply adjust the recipe by duplicating the termination instructions for the LS4's on both ends.
Now let's get started!
The first step is to cut the wire to the length required for your project. Our cables were 5 feet, the individual conductors were cut to 5 feet, 3 inches. This will give enough extra length to allow for the twist and end trimming. When you have all the conductors cut (8 for bi-wire, 4 for single wire) arrange them so the text on the jacket is flowing in the same direction and strip 1 inch of insulation from one end of all the conductors. The stripped ends will be soldered together to aid construction.
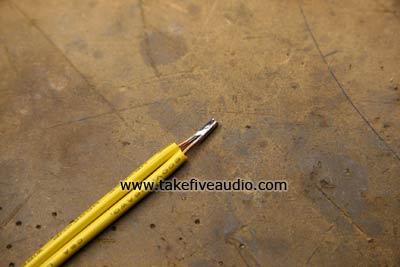
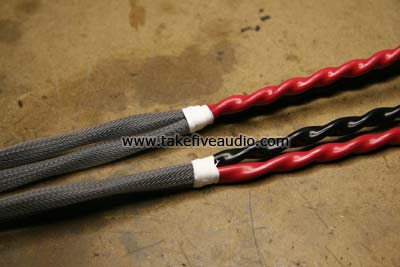
The soldered ends may be fastened to the workbench, this will make it much easier to handle the wire. We clamped the soldered ends in a bench mounted vise for this operation. Now we make the twists. The wires are NOT gripped together and twisted. What you do when the soldered end is fastened, is stand back so you are holding one conductor in each hand about one or two feet from the end and place one wire over the other until you reach the end. This will be loose and uneven. If you have a helper, have them hold the end while you go back to the beginning and use your fingers to refine the twist to a nice even rate of about one complete revolution every 3 to 3.5 inches. When you have the two conductors twisted evenly over the entire length you may secure the loose end of the twisted pair with a cable tie.
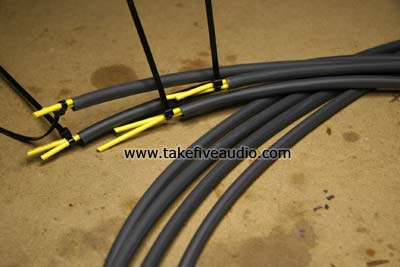
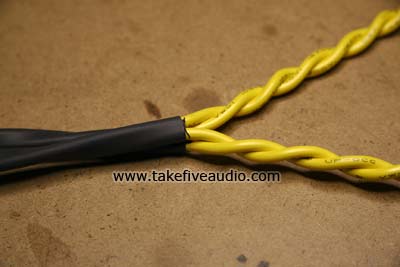
When you have all four pairs twisted together, the next step is to apply the damping material. We are using polyolefin 2:1 shrinktube. Our CPX 100 1/4" shrinktube comes in a continuous roll so there will be no seams in the covering. we cut our pieces about the same length as the cables. Slip the twisted pairs into the CPX starting at the soldered end and apply heat to all areas of the tubing to get a nice tight finish. We used black shrinktube on our cables.
The next step will be remove the cable ties and trim all four cables to the EXACT same length. Make sure you are still maintaining the orientation of the cables with regards to the text on the jacket before you begin to strip the CPX to form the leads.

Next we strip the CPX jacket back 120 mm on the amplifier end being careful not to score the PVC jacket of the conductors.
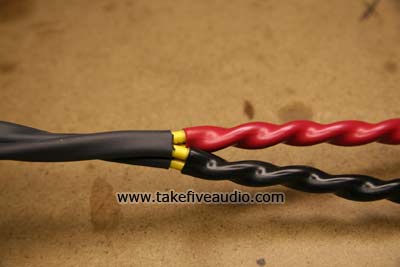
When you are done stripping the CPX we lay both cables on top of one another and make twisted pairs again. This time using one conductor from each cable and then repeating for the other pole.
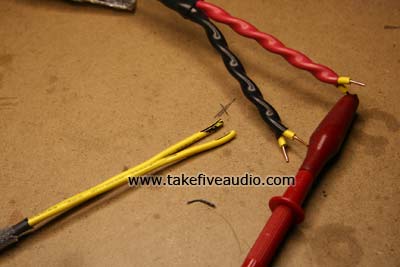
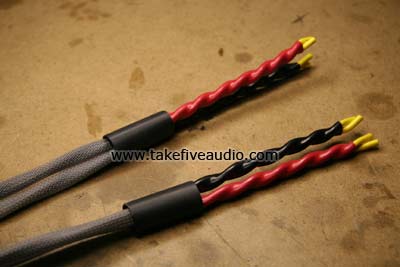
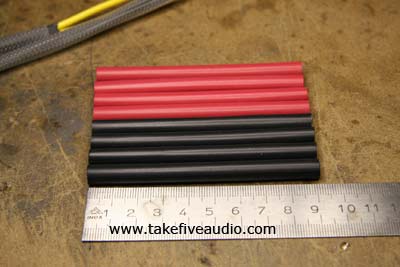
Next we cover the source leads with colour coded shrinktube, Red for the positive and Black for the negative. Cut each piece of CPA 100 3/8" shrinktube about 110 mm long and push them on evenly and as far down as possible. Now apply the heat uniformly with the heatgun to shrink them down.
We usually wrap Teflon tape over the conductor insulation between the CPA on the leads and the CPX on the jacket to make a smooth transition. This gives a smoother appearance when the final piece of shrinktube is applied. In the photo below we have already applied the PET sleeve. We used a PS 1/4" Clear sleeve, this gives a very attractive finish with the black CPX shrinktube. You can use 1/4" or 3/8" polysleeve to cover the cables, the 1/4" will let the underlying colour glint through and the 3/8" will give full coverage. With either size you will need a little more sleeve than you have cable.
The next step is to apply a short piece of CPA 100 1/2" black shrinktube over the transition area. About 1.5" is the right length. This will hold the PET in place and give strain relief to the leads. Be careful with the heatgun near the PET to avoid melting the PET. We use a piece of aluminium foil which has been folded in to multiple layers as a heat shield for this operation.
Now we switch to the opposite end of the cables and begin terminating. We start by stripping 100 mm of the CPX jacket. The picture below also shows about how close to the end of the CPX the PET sleeve needs to be.
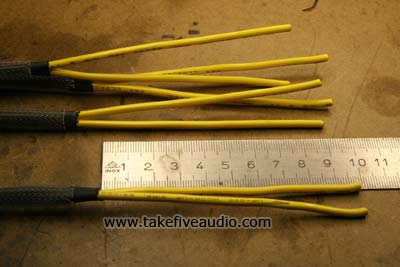
Now cut you CPA 100 1/4" to length for the colour coded leads. We cut ours at about 90 mm.
At this point you will need to use a multimeter to find out which of the leads at the speaker end are to be coded black and which are red. Since our conductors have a yellow jacket we simply marked the ones that were to get black shrinktube with a black magic marker. The leads should be coded the same colour as the matching leads at the power amp end.